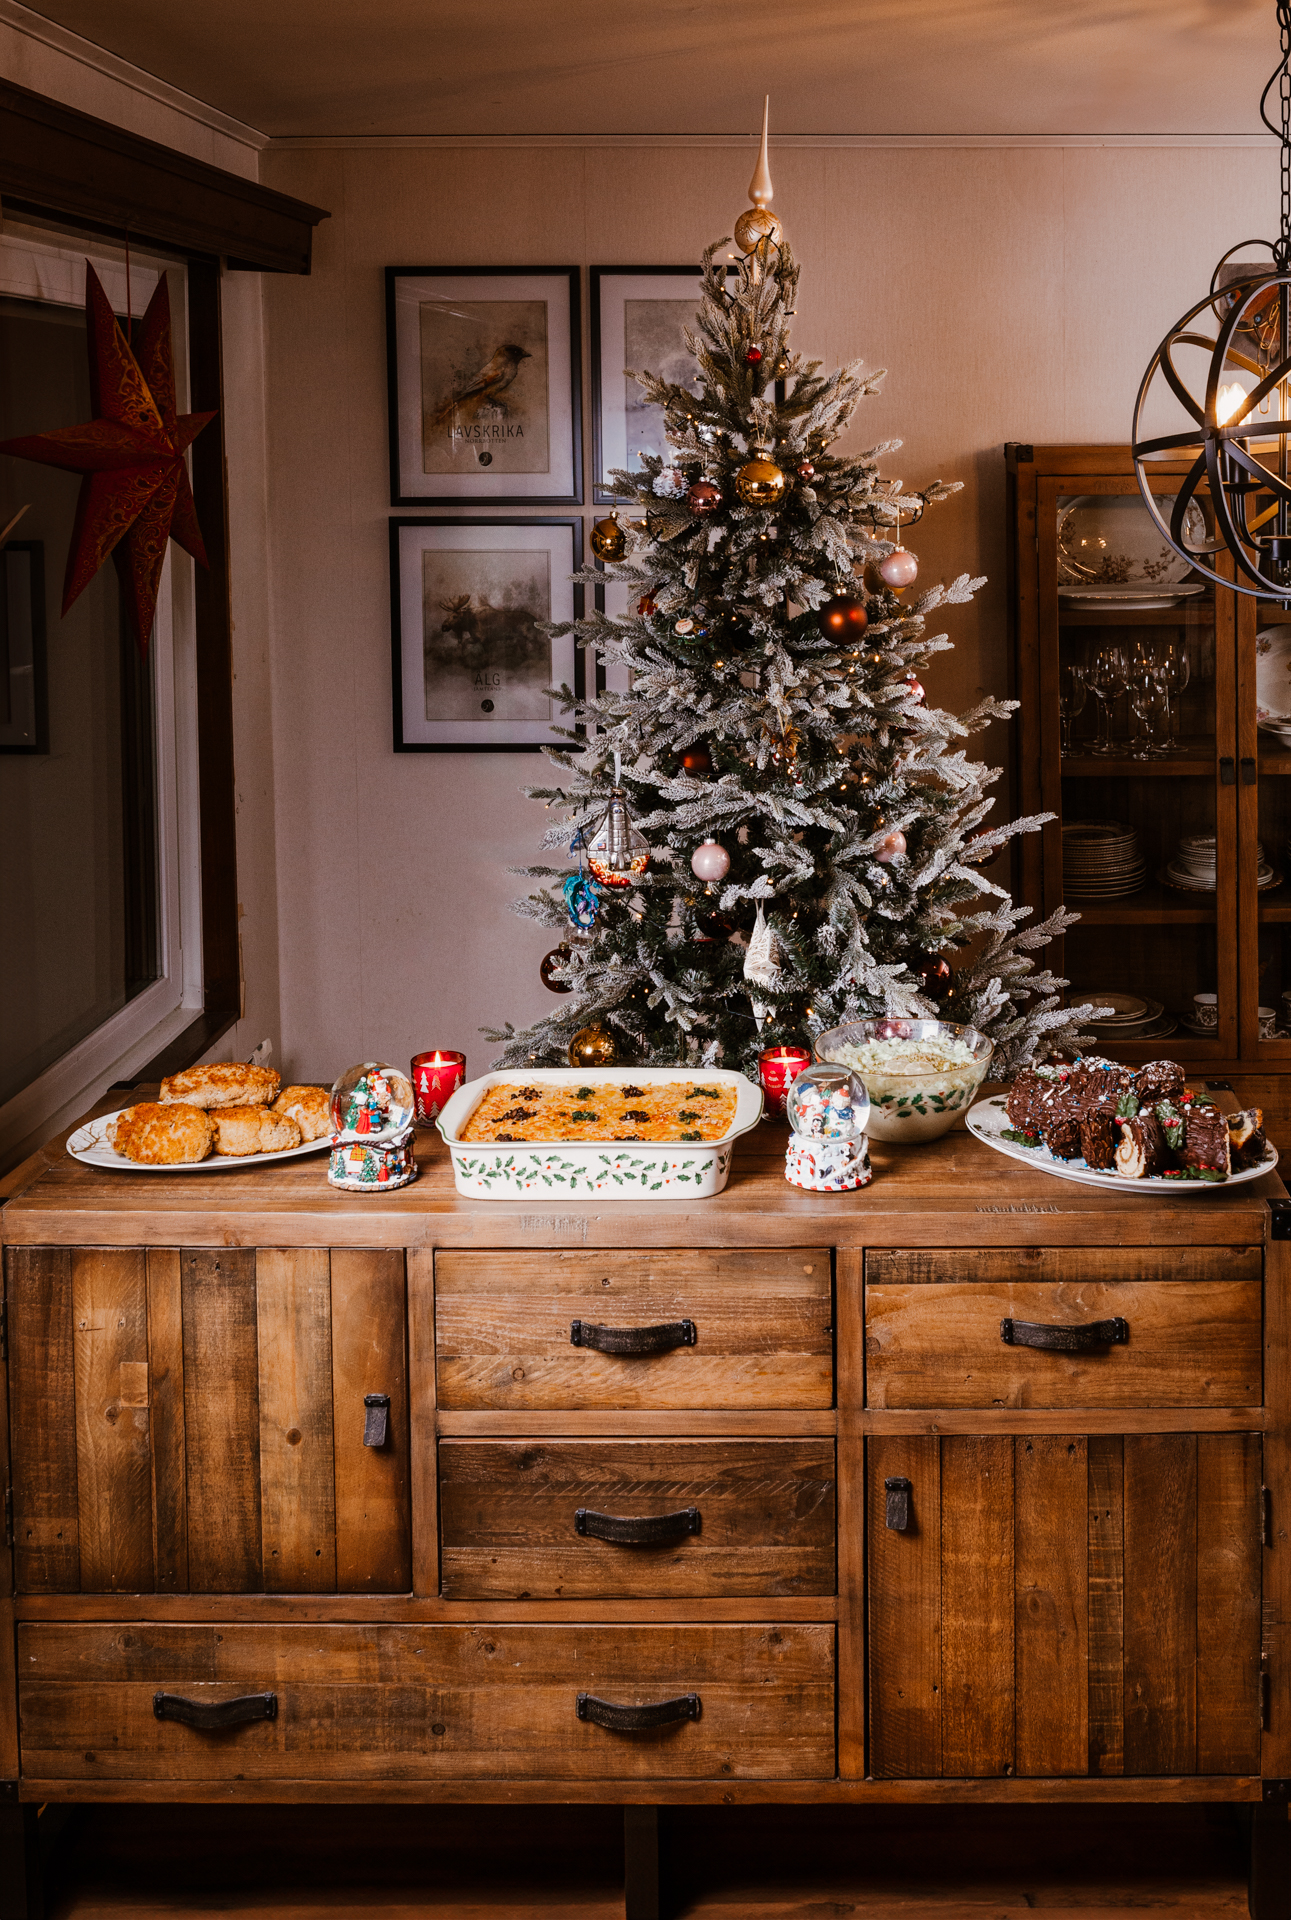
With Christmas fast approaching, Jennifer Claywood offers a thorough guide on how to have a multicultural festive feast. Photographs by Donna Richmond.

I could start this article off with a heartwarming memory of Christmases past. Of favorite foods, favorite gifts, moral lessons learned about sharing and Christmas caring and joy. You get the idea.
Instead, let me invite you into the passenger seat of my black Jeep Grand Cherokee, in Saint Augustine, Florida, circa 2012 or so. I was driving home from picking up my youngest son from school. He piped up from the backseat and asked, “Mom, is Santa Claus real?”
My youngest son and I were very into having scientific conversations about life and I asked him back, “What do you think?” He responded that he thought Santa Claus was real. I then asked him, “What is your evidence?”
He replied, rather sure of himself, “We usually get a lot of presents for Christmas, and I know you wouldn’t spend that much money, so he has to be real.”
Let me assure you, he found out that day whether the big guy was real or not.
Typical American Santa Claus traditions aside, part of what makes our community here in Norrland so special, is that we have exposure to so many other different cultures. This gives us the unique ability to share in one another’s holiday traditions.
Living abroad, especially at this time of year, can sometimes feel isolating. Fortunately, we’re here to share one of the best remedies for the holiday blues: cooking! I recently asked some children in the community of Skellefteå about their favorite recipes and traditions in the winter months and I’ll share some of them with you below.
In regards to traditions, spending time together with family was the overarching theme of their answers. Whether it was watching Christmas movies on streaming services, opening presents, going caroling, making gingerbread cookies, putting candy in shoes (clean shoes, I’m told), attending religious ceremonies, feasting, or Mariah Carey on the tv, these were mostly things they did together with others. Only one preferred time alone playing video games in his room; after the present opening of course!
It was extremely difficult to choose which dishes to include. I’ve tried to keep in mind how we can recreate these dishes in Sweden with ingredients easily found. As I am a bit biased toward sugar, you’ll only find two savory dishes compared with four sweet ones. Plus, powdered sugar looks like snow.
Sugar, sugar everywhere
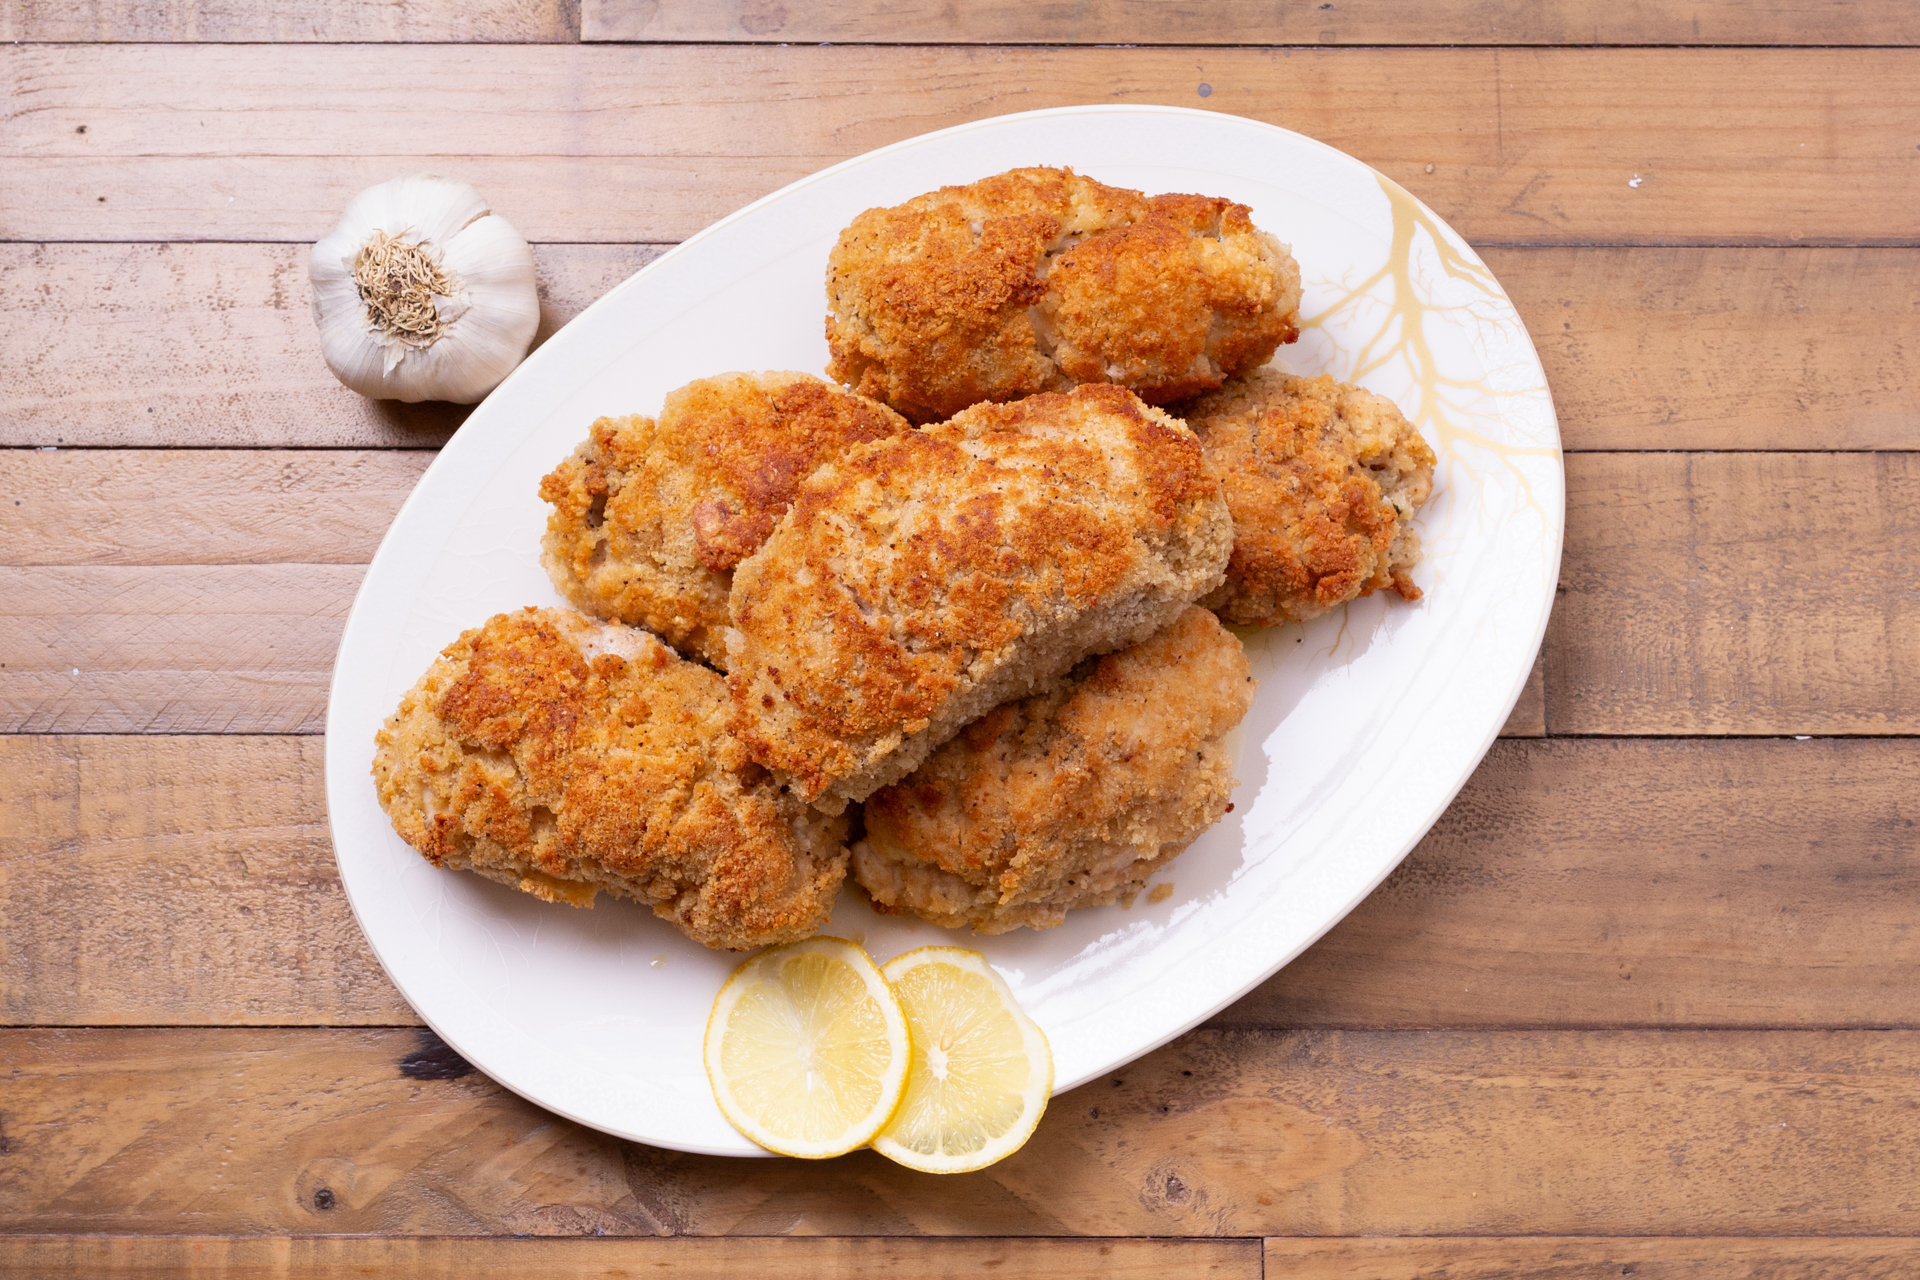
A young Ukrainian wrote how much she loved Chicken Kyiv. Growing up, I’d always seen this dish referred to as Chicken Kiev, the Russian spelling of the dish. Recently, there has been a push for it to be known and referred to by its Ukrainian spelling, Kyiv, after the capital city of Ukraine for which the dish is named.
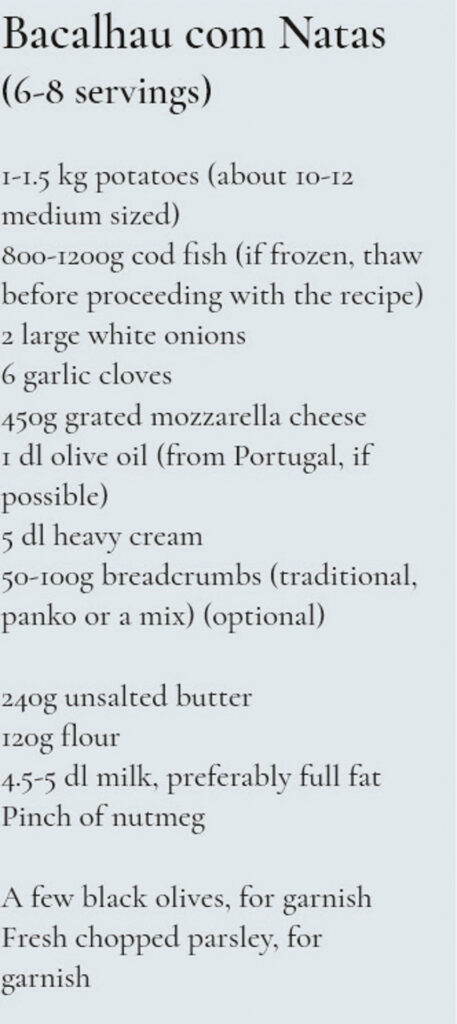
A boy from Portugal mentioned simply, “cod.” With some research and a chat with a Portuguese friend, a modified version of the popular dish Bacalhau com Natas (Cod with Cream) seemed appropriate. While we don’t have access to the salted fish they have in Portugal, using frozen cod will be an acceptable substitute. Bacalhau is the Portuguese name for cod, but the dish usually starts with a specific version that has been dried and salted. However, in traditional recipes, the cod is usually soaked for several hours with the water bath changed many times to remove the salt.
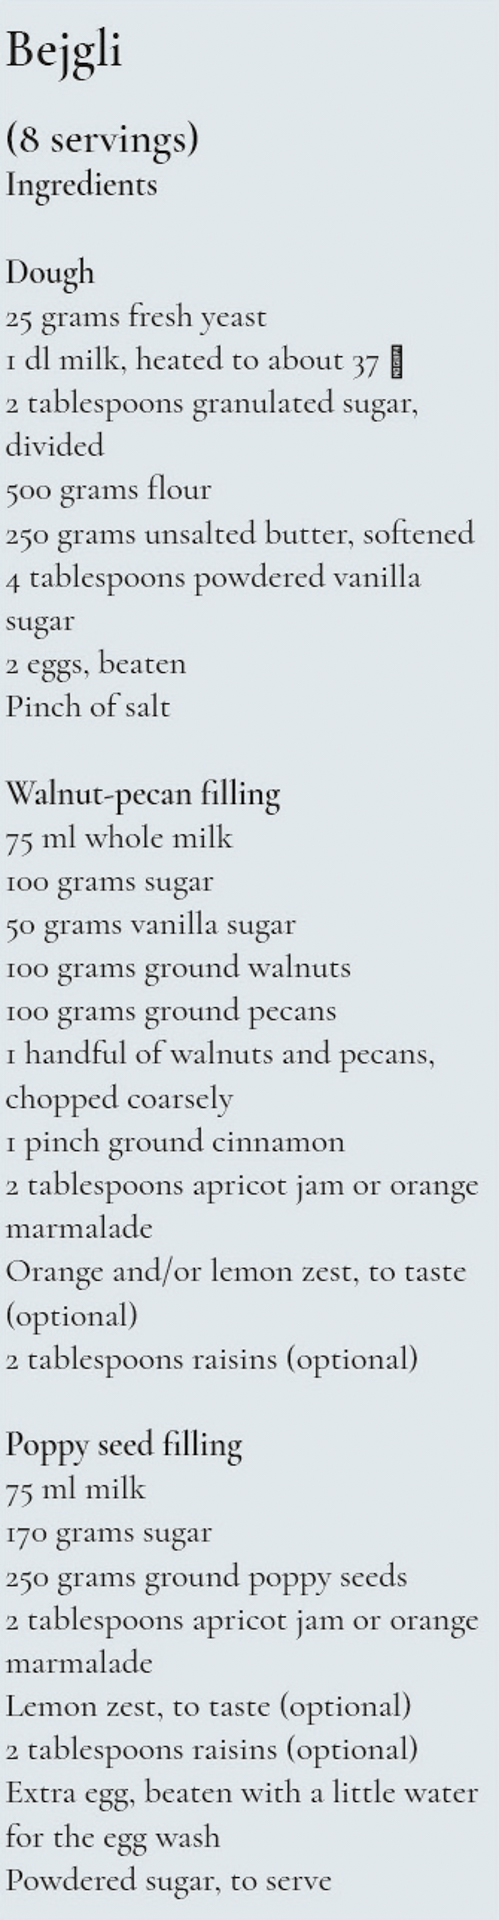
What is Bejgli?
While I’d never heard of Bejgli (Hungarian version) before now, I’ve seen these rolled and filled pastries before. They are typically made with either a poppy seed filling or a walnut filling, both served up at the same time. The recipe included here serves about 8 people, but if there’s none left by the time your guests arrive, feel free to say that you hadn’t realized the serving size was only for one. Traditionally, the recipe contains pork lard. For various reasons, this recipe relies only on butter. As I prefer pecans to walnuts, the nut filling in my recipe includes both. As it is sometimes difficult to find pecans here, I usually order them in bulk online. If you can’t find any or prefer not to use them, just substitute an equal amount of walnuts.
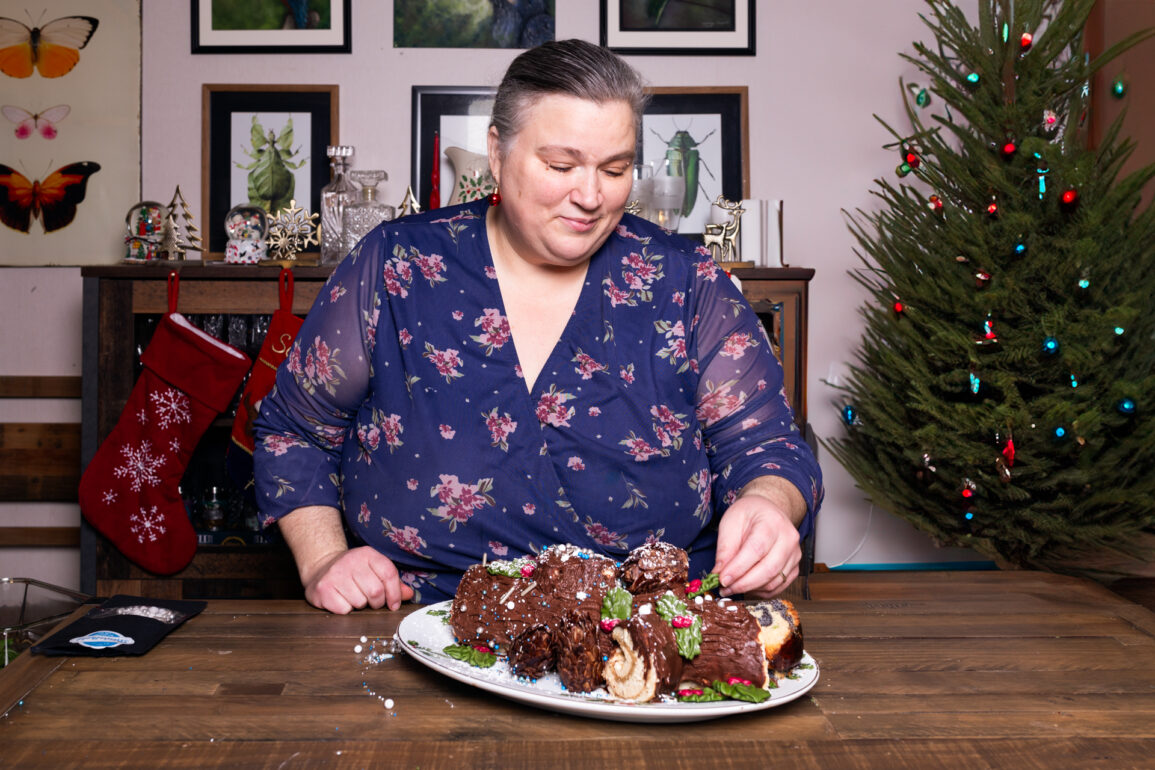
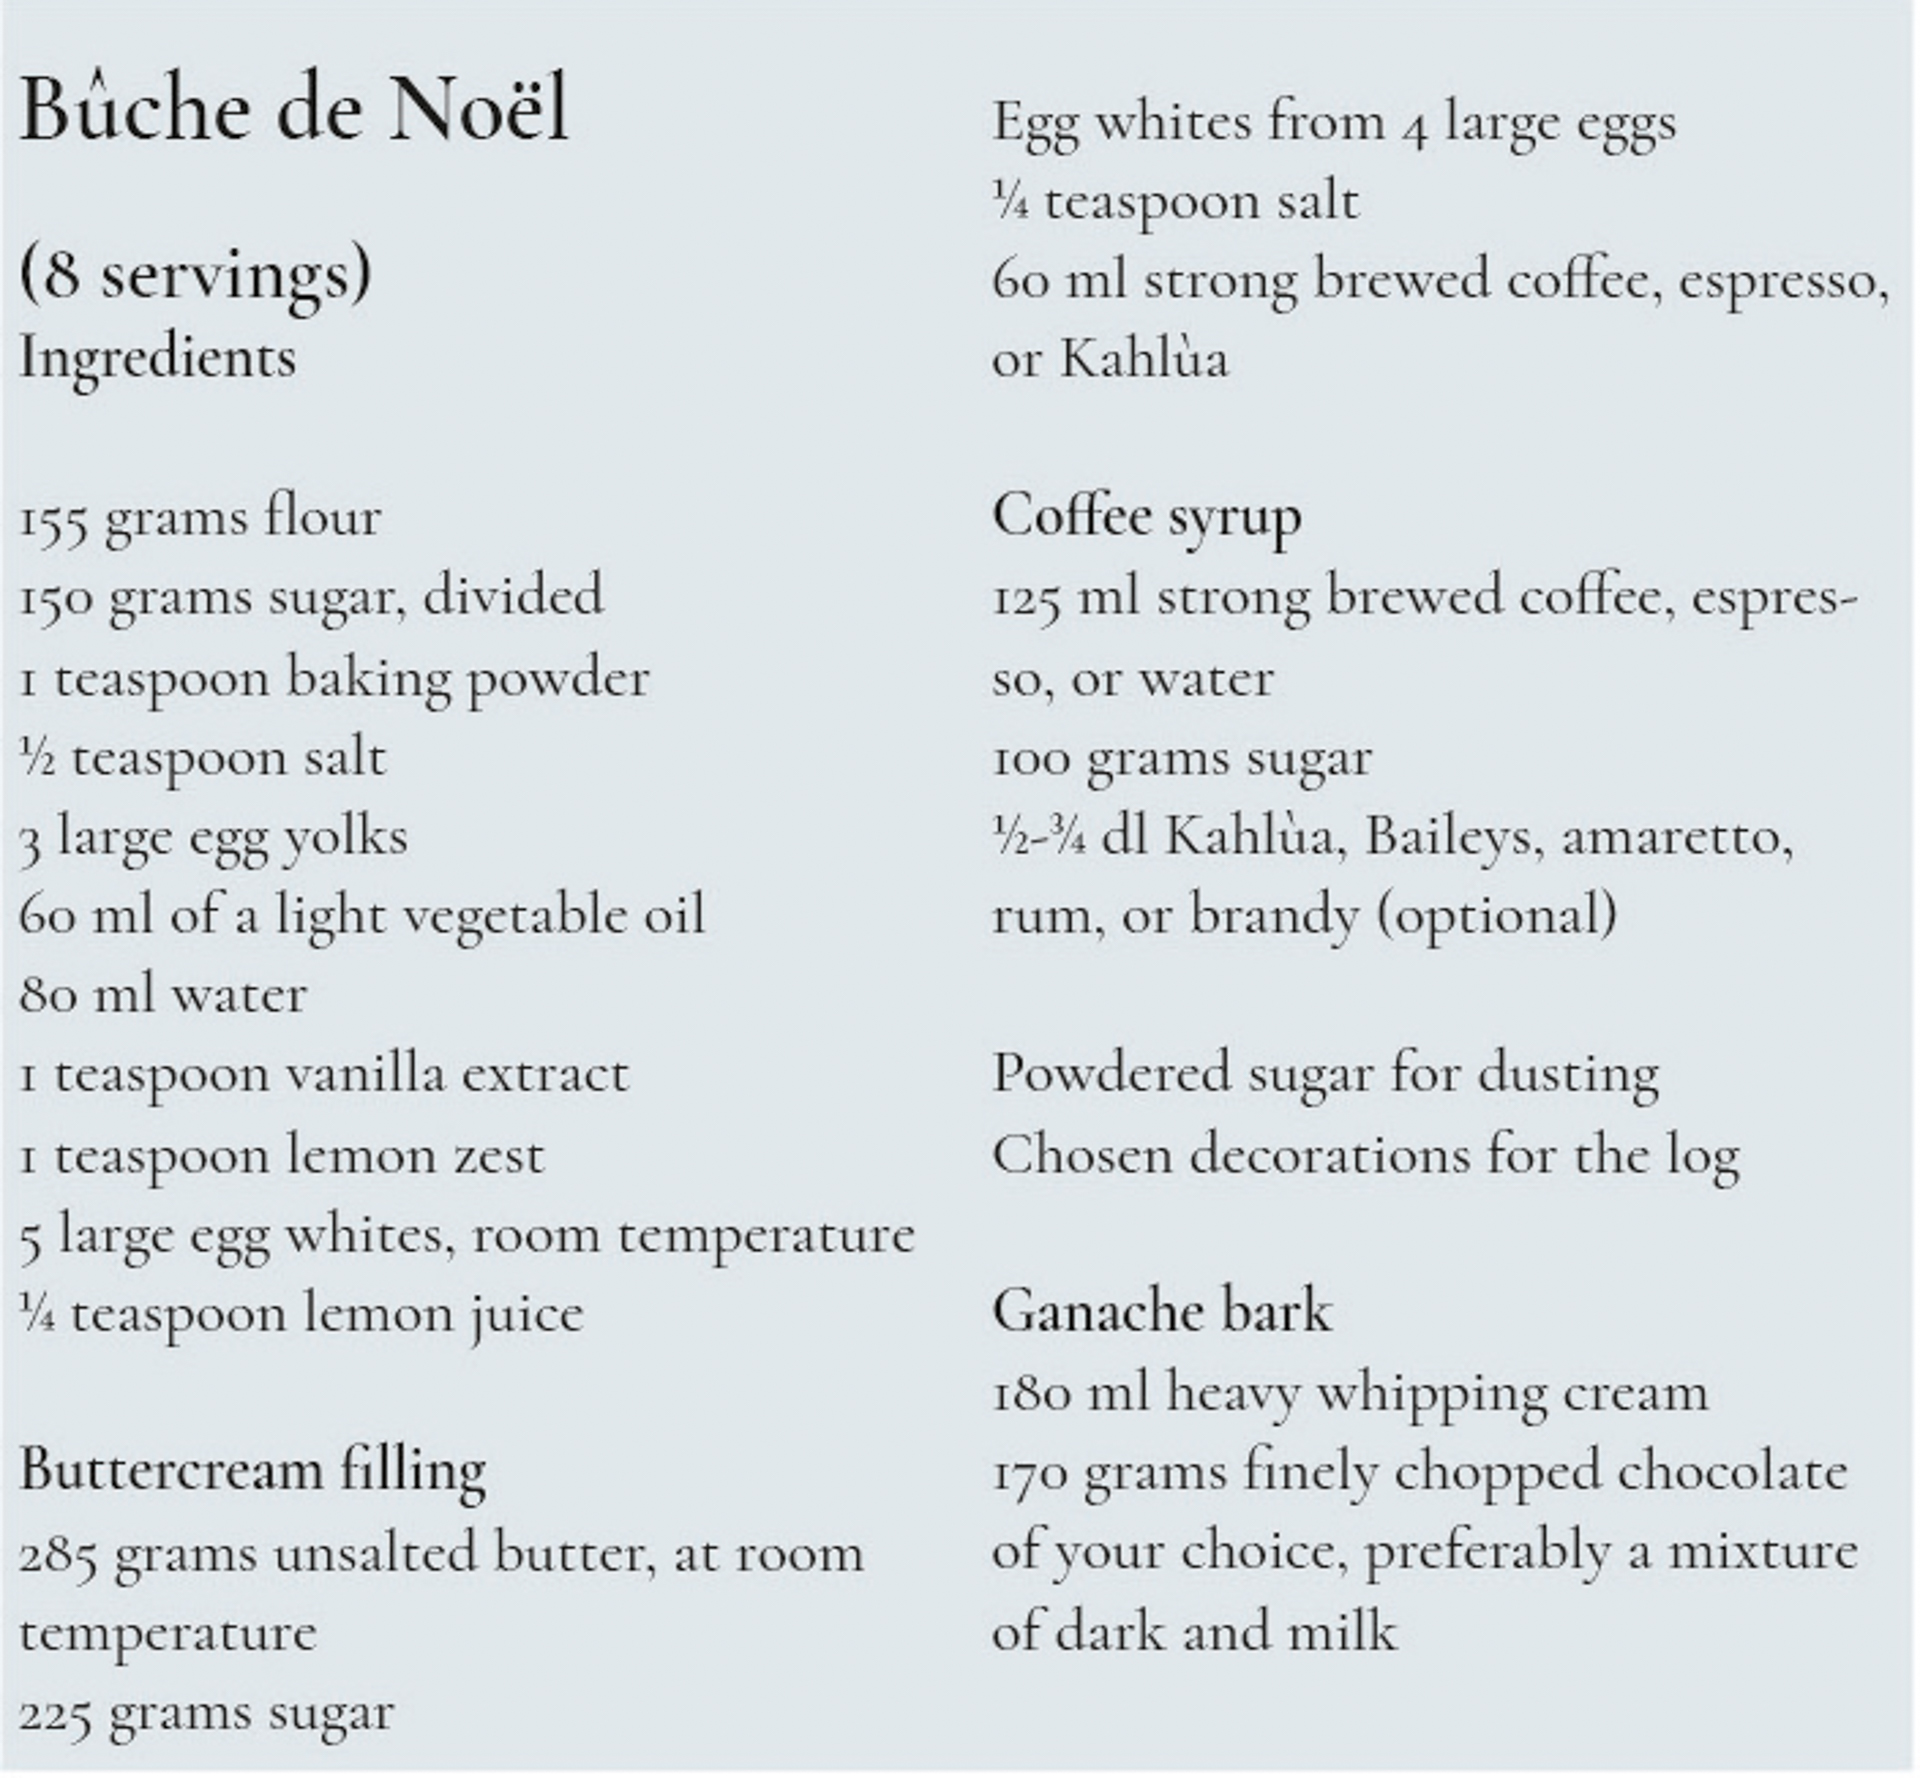
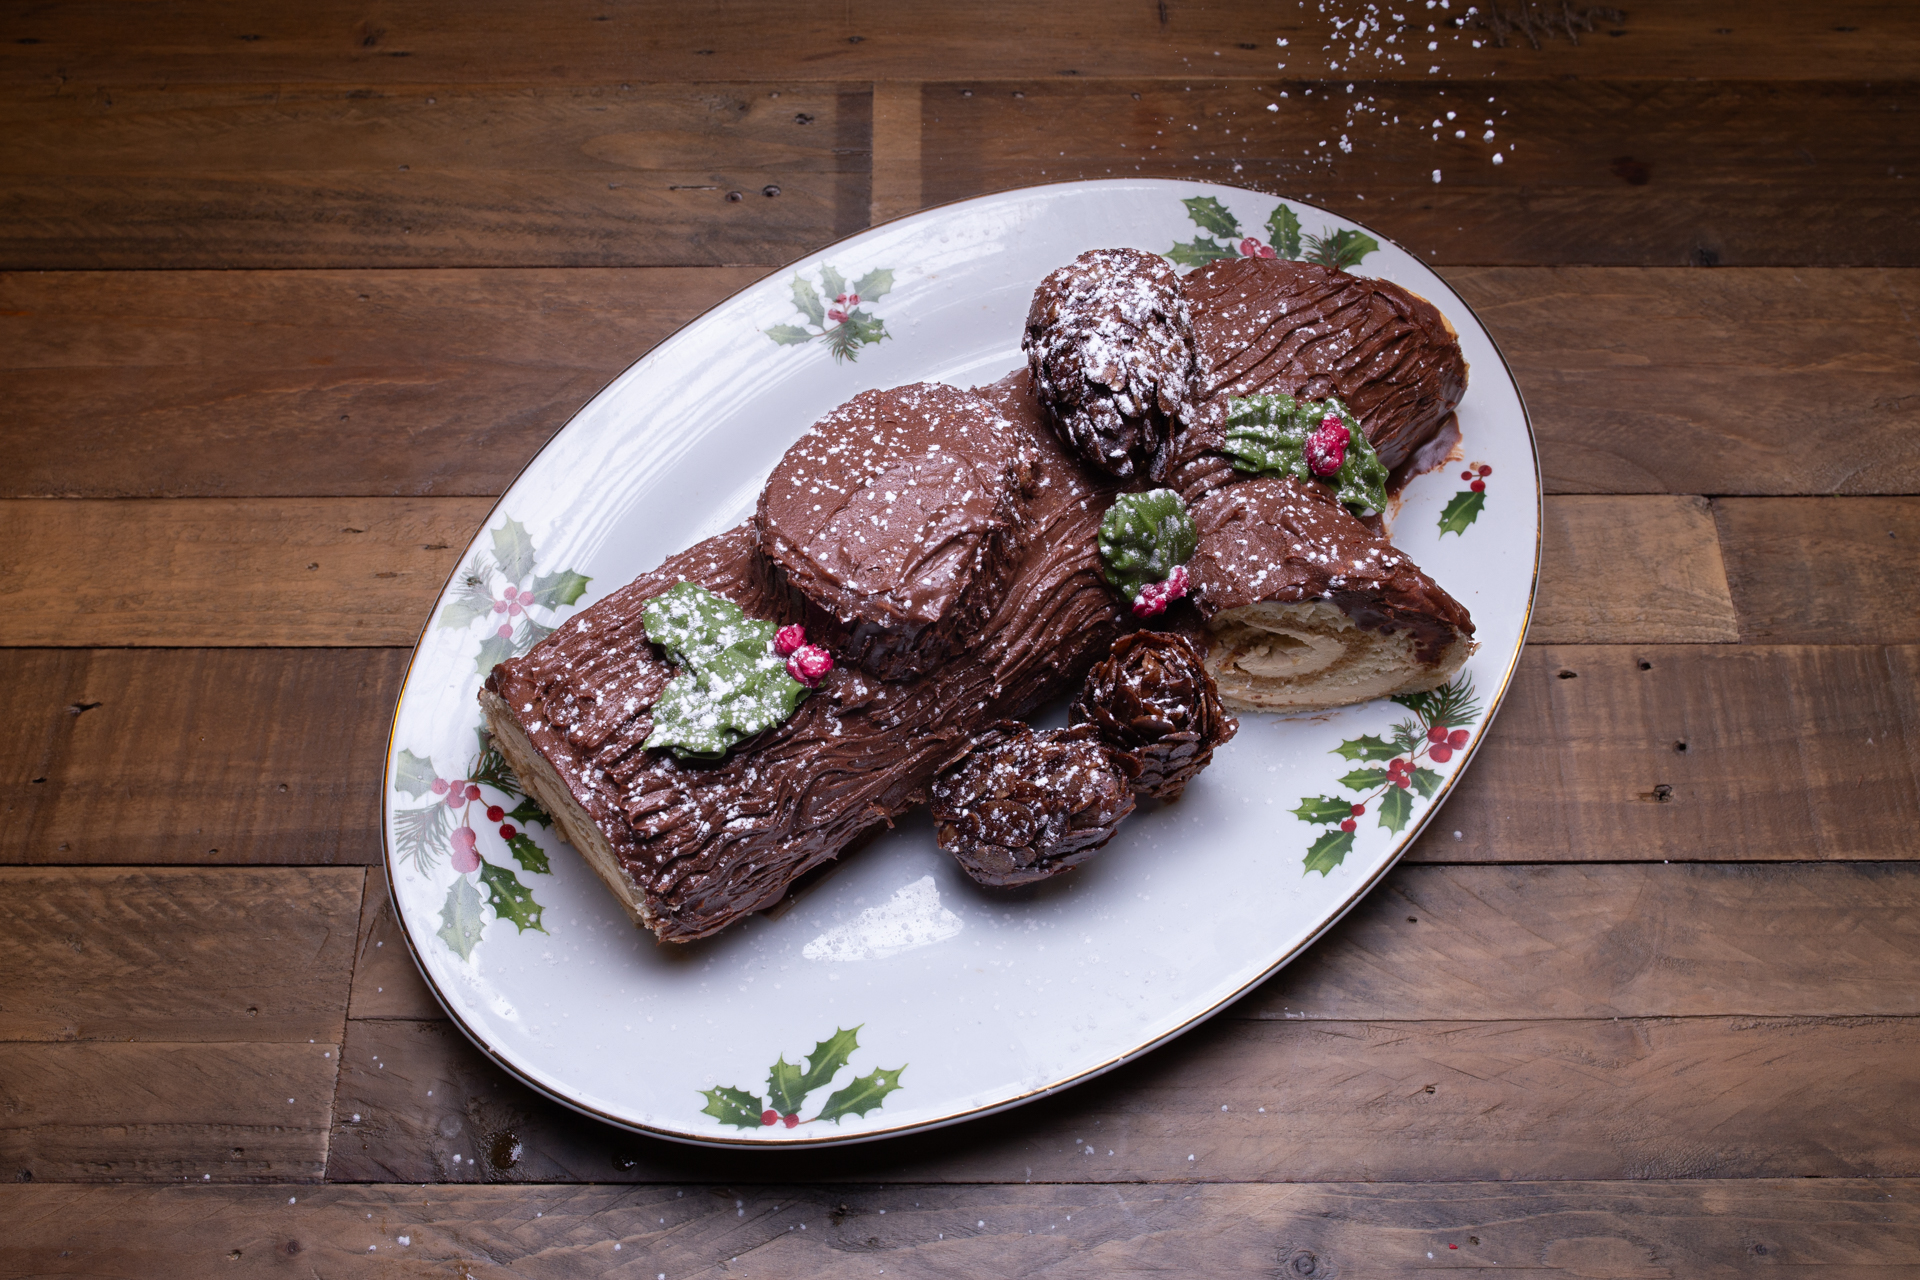
Several children from France recounted loving Bûche De Noël, known the world over as a “Yule Log.” It is often decorated to resemble a log with mushrooms, frosty greenery, snow, and sometimes even elves. I won’t include all of the decorations you could make to top off this cake, but a quick search online will provide you with plenty of options from meringue mushrooms to almond-chocolate pinecones. Make it as simple or as complex as you have time and energy for! Regardless of the end result, it’s bound to taste amazing. There are endless possibilities for what flavor of cake and filling you can use for this dessert, but for use in Sweden, I decided a coffee-infused confection would be perfect.
It’s been Swedified
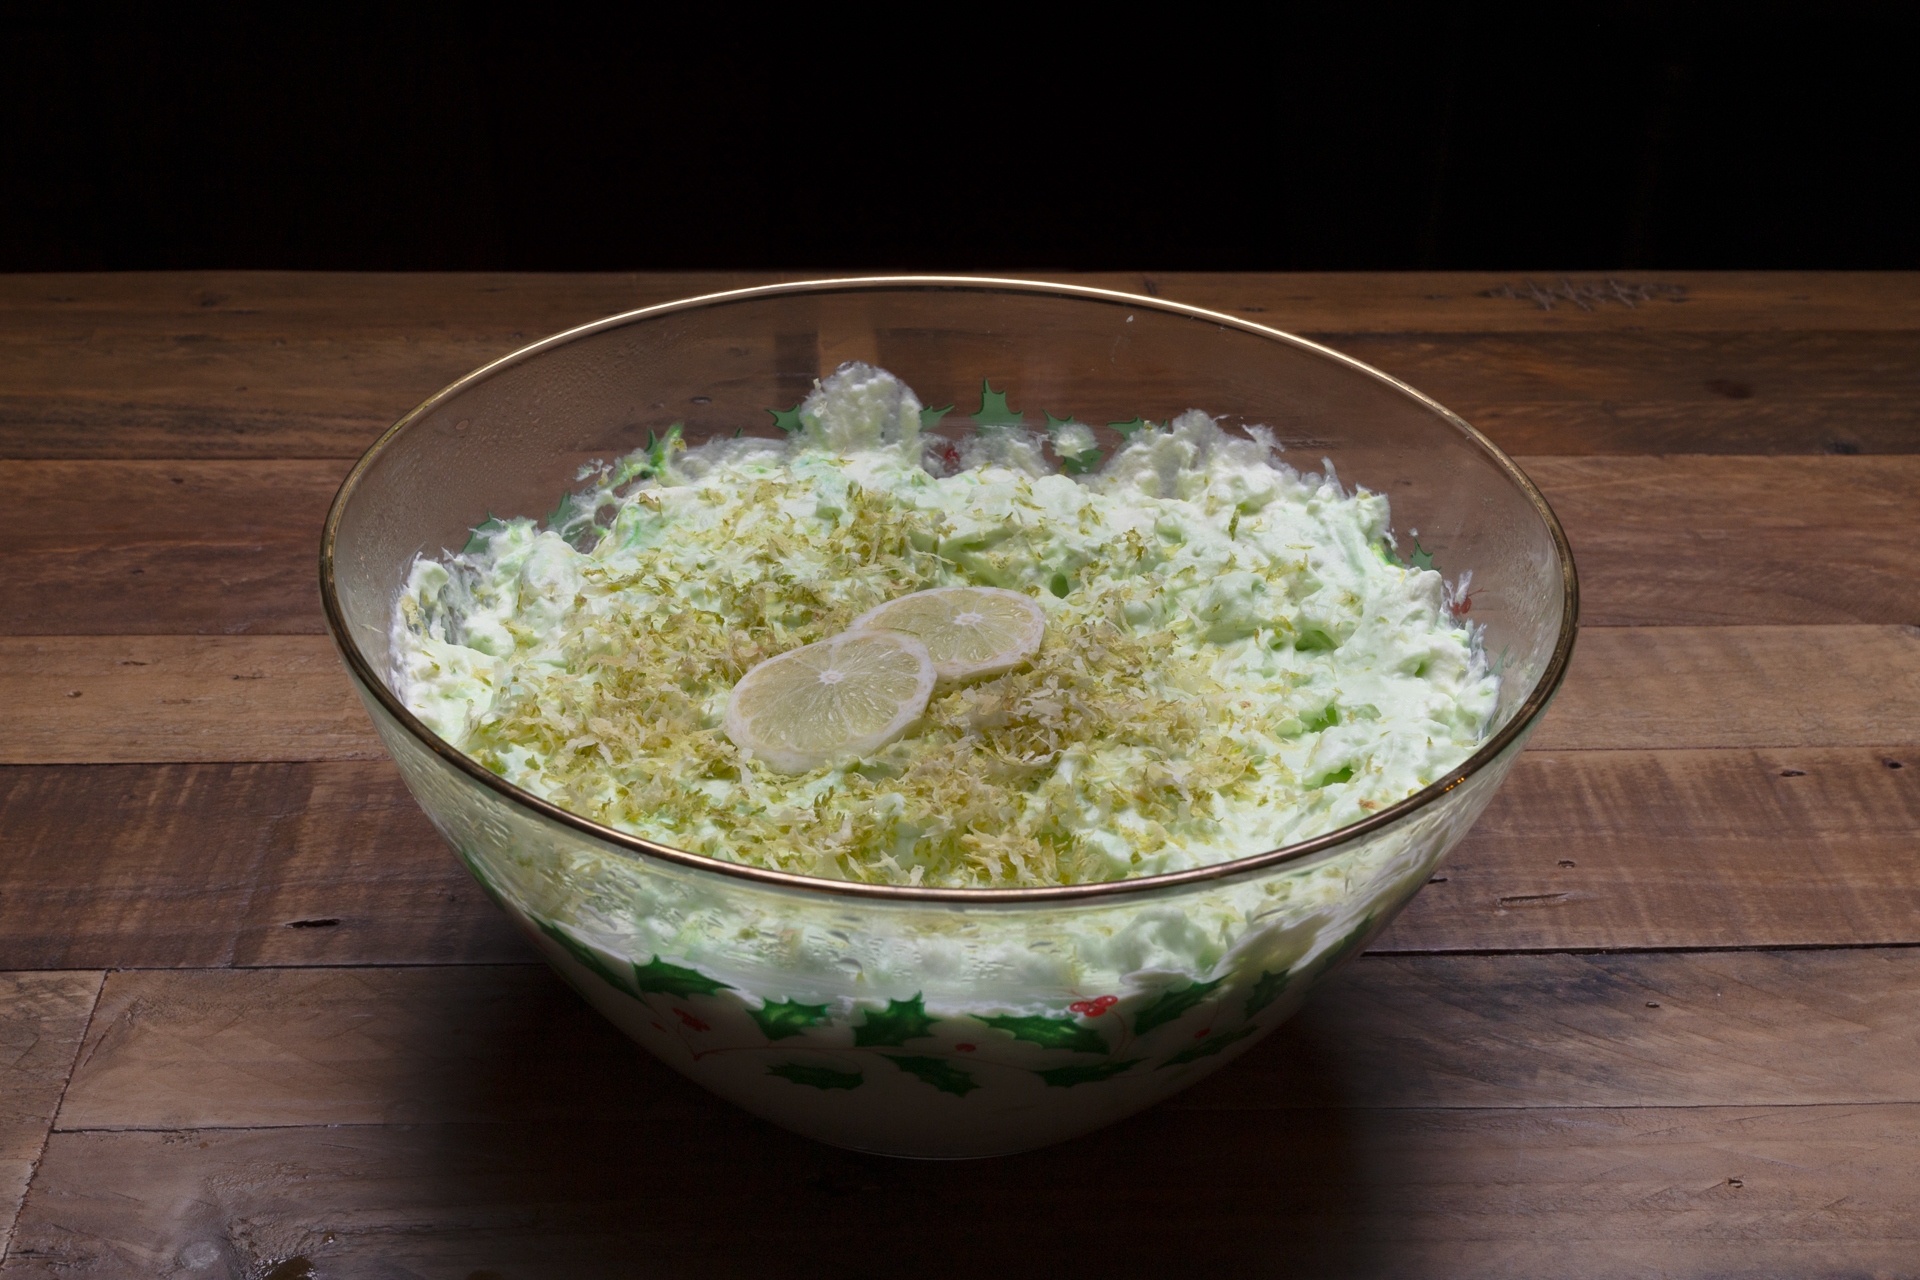
I’ll also throw in one recipe that was a staple of my childhood Christmas table, Seafoam Salad. You’ve always wanted to make a gelatin salad from the 1950s, right? This is a highly modified version as two or three of the main ingredients are not sold here. It’s also a lot more creamy than you would typically see it in the US. It has been Swedified, if you will.
Chicken Kyiv (Ukraine)
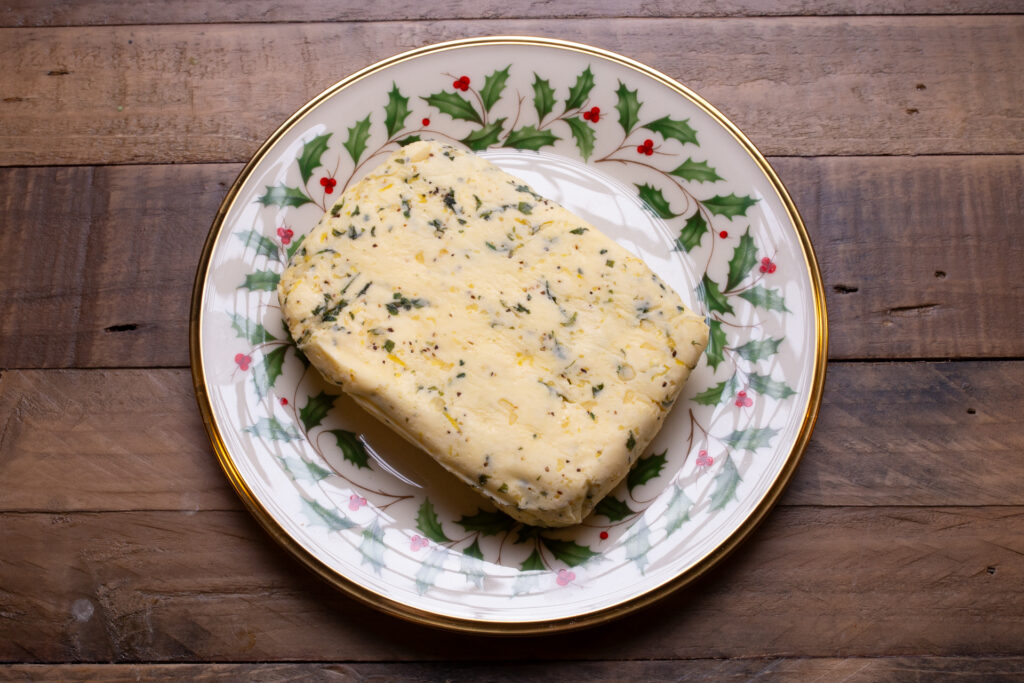
Garlic parsley butter
Cream together the garlic parsley butter ingredients in a medium bowl. Use an electric mixer or the back of a wooden spoon. Shape the butter into a 15 cm x 8 cm block on a sheet of baking paper. Wrap in the paper and refrigerate for at least two hours.
Chicken breasts
Remove any visible fat and/or skin.
Working one at a time, place each breast between two pieces of plastic wrap and pound with a rolling pin or mallet. You want them to be between ½ and ¾ of a centimeter thick. Season on both sides with salt and pepper.
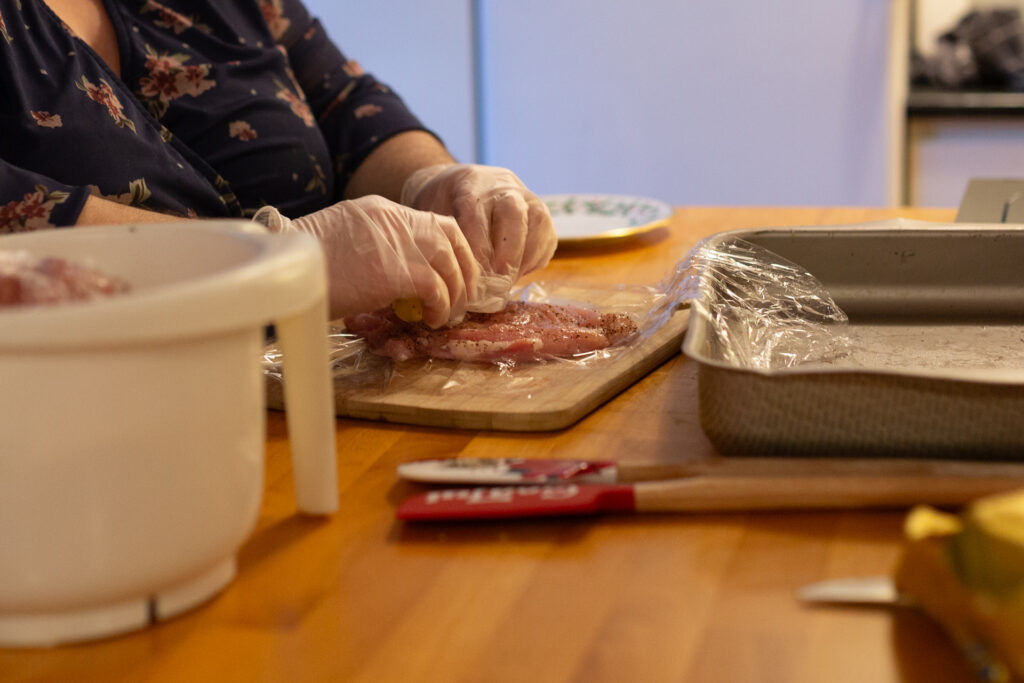
Assembly and preparation
Take the chilled butter and cut it into 8 equal parts, sausage-like in shape. Place one breast on a work surface, with the most tender side up. Place one slice of butter about a third of the way up from the narrowest end. Your goal should be to enclose each strip of butter completely within the flattened meat. Start rolling the chicken breast, folding the narrow end of the chicken over the butter. You’ll want to tuck in the sides as you go. Wrap each log in plastic wrap, twisting the ends tightly. Move to a freezer-safe container.
Freeze the chicken for thirty minutes. You don’t want them completely frozen, you’re just trying to make sure the butter stays put. The hardest part of this dish is making sure the butter stays where it’s supposed to until serving.
While the chicken is in the freezer, combine the coating ingredients in a bowl:
Dip each chicken breast into the flour, then the egg, and then the breadcrumbs. Then repeat this process. You want them to be coated
twice so there is less of a chance of the butter leaking out during cooking.
Moving the chicken logs back to a freezer-safe container (no plastic wrap this time), and leave in the
freezer for 30-45 minutes before proceeding. If your freezer safe container is shallow, use the lower duration. If it is deep, use the higher duration.
Preheat the oven to 180 ℃ and heat a large skillet over medium high heat. Using about a deciliter of cooking oil, fry the breasts for 1-3 minutes per side until golden.
You may need to do this in two batches. Transfer to a baking sheet and cook for 20-25 minutes until cooked through. You may want to turn the pan halfway through.
Bacalhau com Natas (Portugal)
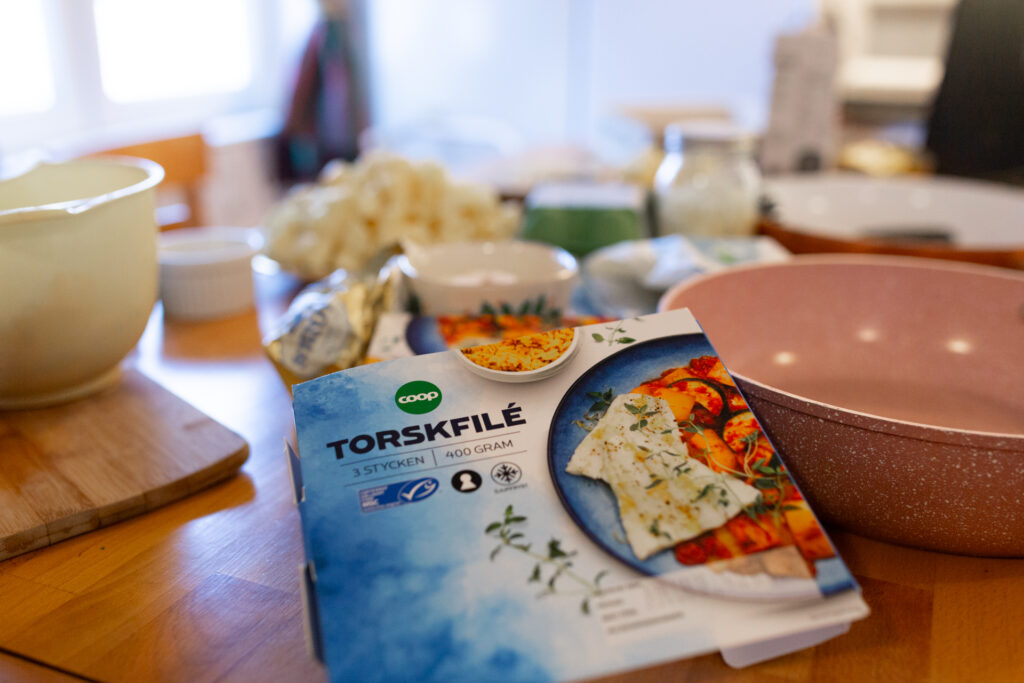
Thaw your cod pieces. For the best results, you’ll want them to thaw in the refrigerator for 10-12 hours.
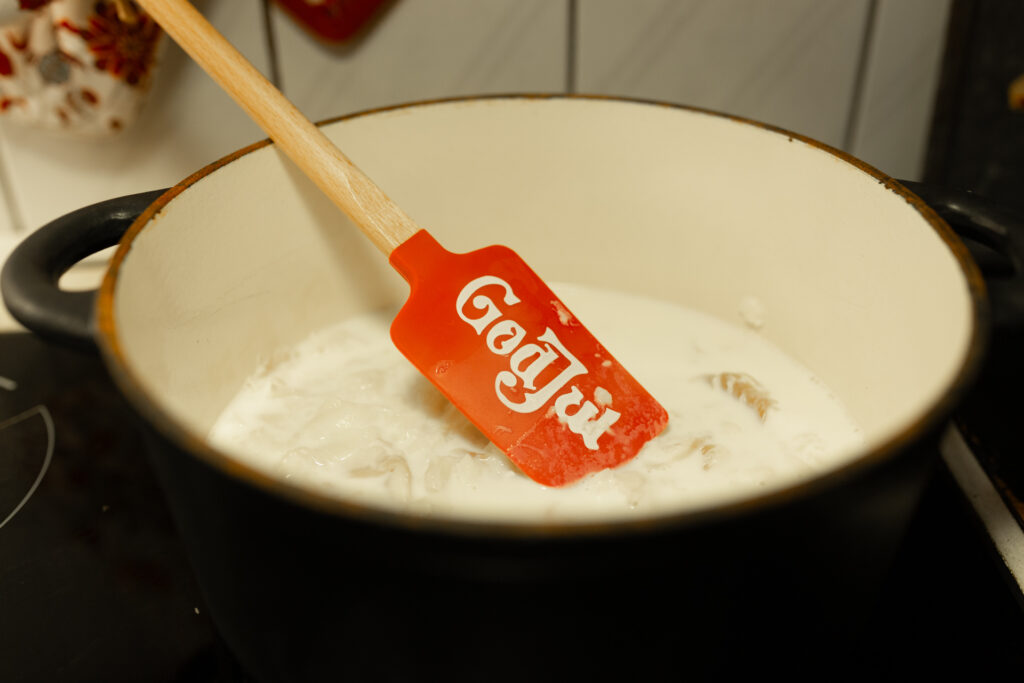
Into a medium saucepan add your thawed cod and 4.5-5 dl of milk.
You’ll want to heat the fish over medium heat for about 10 minutes, paying close attention so that it doesn’t boil over. It’s okay if the cod pieces break up during this process.
Separate the cod from the milk with a strainer and set both aside.
Add the butter to a large frying pan and melt over medium heat.
Add the flour and stir constantly for a couple of minutes. You don’t want the thick paste to brown.
Add the warm milk from the previous steps and continue to stir, bringing it to a boil. Add salt, black pepper and nutmeg to taste and then lower the temperature. Continue to stir as you cook it for 2-3 more minutes. After reaching a creamy consistency, remove from heat and set aside, keeping the white sauce in the skillet.
Peel and slice the onions thinly.
Peel and finely chop the garlic cloves.
Peel the potatoes and cut into cubes of similar size, around 3 cm each.
Wash the cut potatoes and dry thoroughly, placing them on a plate lined with paper towel. You’ll want them as dry as possible.
Preheat the oven to 150 ℃.
Add the olive oil to a large frying pan and heat over medium-high. When the oil starts to sizzle, add the onions and garlic and sauté for five minutes.
Add the potato cubes and cover with a lid. You’ll cook the potatoes for about 10 minutes, stirring only occasionally, making sure not to let the garlic burn to the bottom of the pan. Giving your potatoes time to cook without stirring for a bit will give a nice browning to them, but it’s not necessary.
While your potatoes are cooking, add the cod pieces to the white sauce you prepared earlier and gently stir.
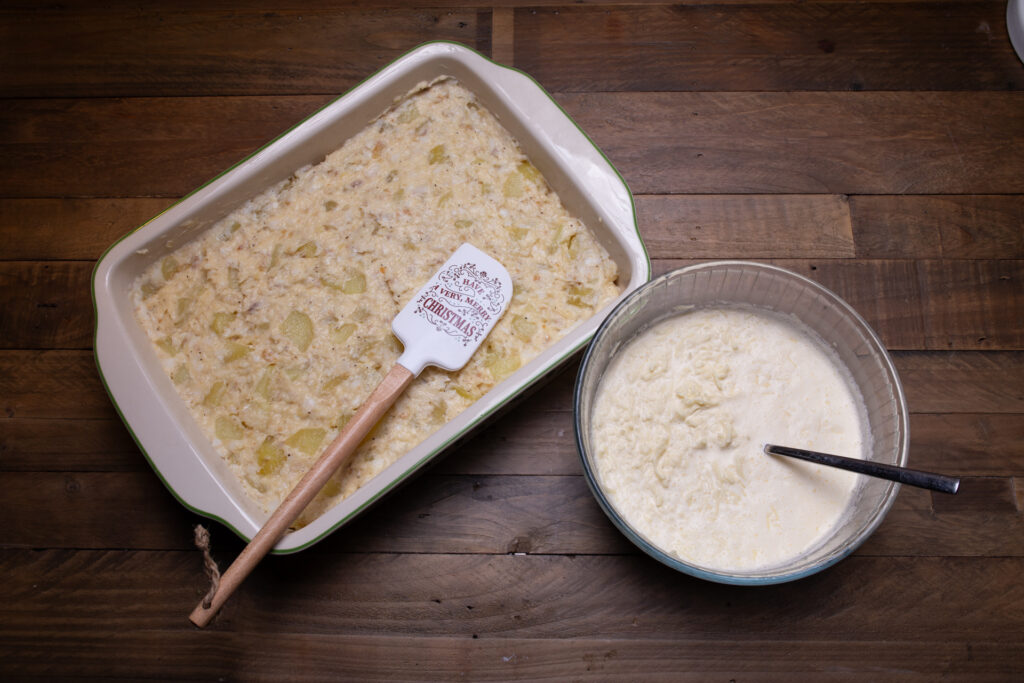
Into a medium bowl, mix the cream and mozzarella cheese. Add the potato mixture to the fish white sauce and give it a good stir.
Add the fish mixture to a large baking dish and top with the cheese mixture. If you feel that you won’t have enough room for the cod mixture and the cheese mixture in one large baking dish, split it between two smaller ones. Cooking time should be about the same. If using, sprinkle the top with breadcrumbs and/or a little extra sprinkled cheese.
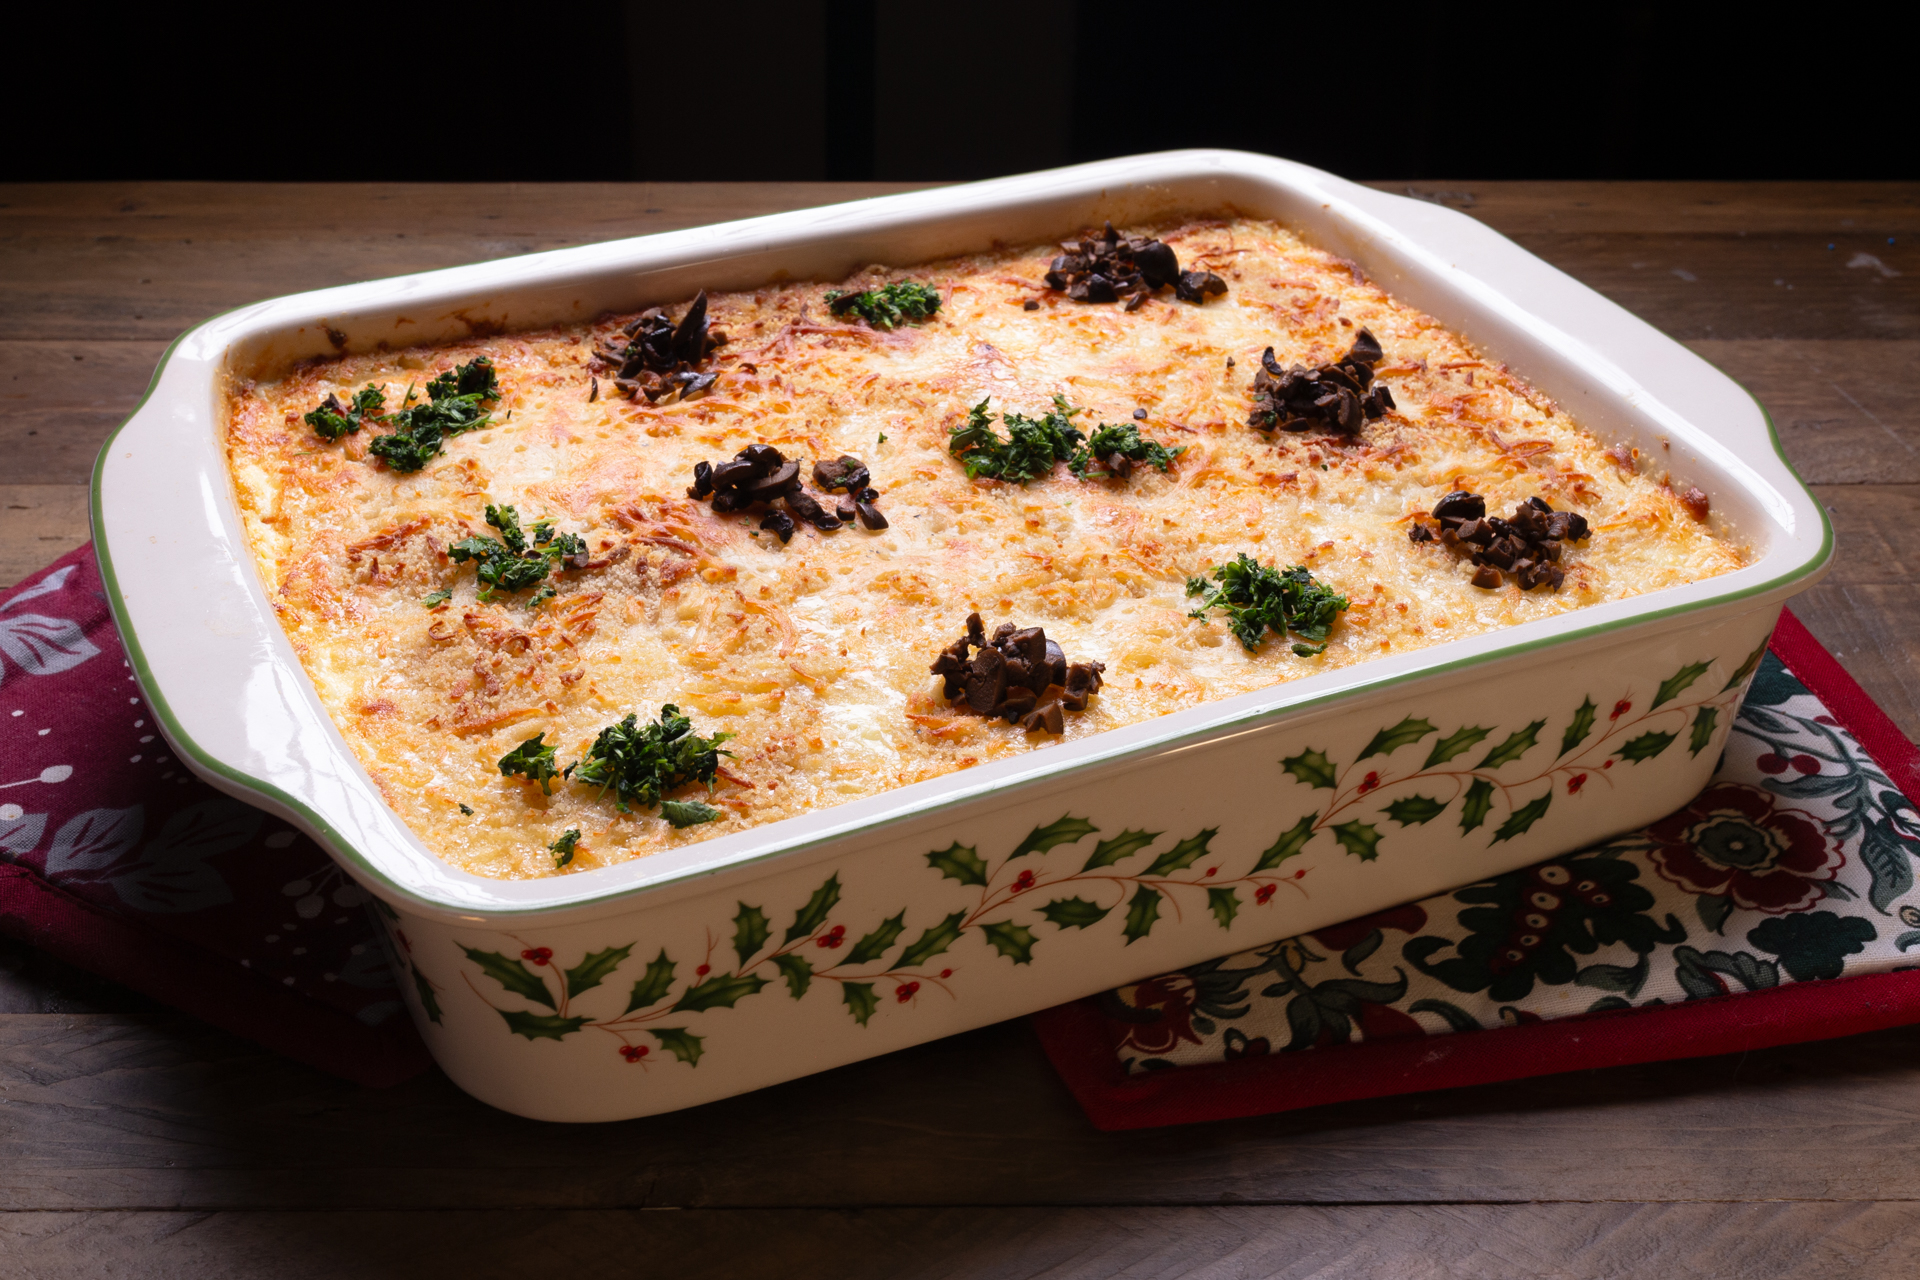
Bake for twenty minutes, or until golden on top. If after 30 minutes the top is still not as brown as you’d like, turn the broiler/grill on at about
200 ℃ and watch carefully until
browned and bubbly.
Garnish with fresh parsley and chopped black olives arranged in a decorative pattern, if desired.
Bûche de Noël (France)
Rolled Chiffon Cake (I’ve used a jelly roll pan that is about 40 x 2.5 x 30 cm)
Make-ahead notes: You should be able to prepare this cake a few days in advance, but the decorating should be left for the day of serving.
Store the cake rolled and covered in plastic wrap until you start decorating.
If preparing the cake the same day, please note that once you’ve rolled it, you should refrigerate it for at least two hours before decorating.
Prepare the cake
Preheat the oven to 160 ℃.
Prepare a jelly roll pan with parchment paper. I’ve used a pan that measures about 40 x 2.5 x 30 cm.
Into a large mixing bowl, sift together the flour, baking powder and salt.
Remove 50g of sugar from your 150g and set aside.
Add the remaining sugar to the flour mixture.
Into a small bowl tip in the oil, egg yolks, water, vanilla, and lemon zest. Briskly whisk it together.
Make a well in the flour mixture and add the egg mixture, whisking together for about a minute. You’ll want a smooth batter. It will be thick.
Place the egg whites into a large bowl and whisk until frothy. You may wish to use a hand or stand mixer.
Add the lemon juice and then continue until your egg whites have soft peaks.
Slowly add in the reserved 3 tablespoons of granulated sugar and increase the speed to medium-high, beating until stiff shiny peaks are formed.
Into the yellow batter you prepared previously, delicately fold in the egg whites using a rubber spatula. It is best to do this in two or three additions. You only want to mix until just combined.
Transfer the batter to the prepared pan and smooth the top.
Bake the cake for about 20 minutes (checking after 15), making sure that the surface is springy to the touch and not too brown. Let the cake cool in the pan on a wire rack.
Prepare the coffee syrup
Combine the ingredients (except for the alcohol, if using) in a small saucepan on the stove over low heat, stirring gently until the sugar has dissolved. It does not need to come to a simmer. Remove it from the heat and let cool.
Once the mixture has cooled, stir in the alcohol, if using. Slide a butter knife around the edge of the cake pan and then remove it to a large piece of parchment or plastic wrap.
Liberally brush with the coffee syrup and let it soak while you make the filling. You will probably have leftover syrup that can be used in other recipes or drinks.
Prepare the buttercream filling
For the filling, cut the butter into 15 gram pieces and set aside.
Take the metal bowl of your stand mixer and find a saucepan it will fit snugly into (without touching the bottom). You’ll use this to heat your egg whites.
Put water into the saucepan at a depth of about 5 cm. Place it over medium heat and bring it to a low simmer.
Place the metal bowl over it (it should not touch the water) and add the sugar, egg whites, and salt.
Whisk for about 5 minutes. The egg whites should be hot to the touch.
Remove the bowl and place onto your mixer. Using the whisk attachment, mix on high until it is thick and stiff. Look for shiny, stiff peaks. This will take about 5-7 minutes.
Then, start adding the butter, one cube at a time. You’ll beat on medium-high, incorporating each piece of butter before adding the next.
Once you’ve added the butter, mix
in the coffee (or espresso or Kahlùa), adding it on low speed to avoid splashing. After the threat of a coffee-splashed kitchen is gone, increase your speed to medium to finish off the mixing. Buttercream frosting can be temperamental. If it becomes grainy, switch to the paddle attachment and mix until you have a satiny smooth frosting.
Fill and roll
Spread the filling over the cake, leaving 2-3 cm bare on the long side closest to you.
Starting with the long side closest to you, start rolling up the cake. Use the parchment or plastic wrap to do so. You’ll want to roll the cake tightly. If you need to, search online for a tutorial to prepare. Some breakage is okay as you roll. You’ll cover the outside with a ganache that will hide the breakage. Refrigerate for at least two hours before proceeding.
Prepare the ganache bark
While the cake is in the refrigerator, make the ganache.
Add the cream to a microwave safe bowl and heat for 90 seconds. It will be hot. Upon removal, stir the cream to distribute the heat and then add the chocolate. Leave it to melt for about 10 minutes.
Whisk the chocolate until smooth. If it isn’t completely melted, heat it up briefly in the microwave, no more than 20-25 seconds at a time.
Once it’s smooth, set aside to cool and thicken up. Depending on various factors, you may need to refrigerate your ganache until it is spreadable.
Assemble
After the cake has been refrigerated for at least 2 hours and your ganache is prepared, it’s time for the fun part!
You can choose to keep your cake as a single log, but most people like to get a little more complex in their log structure with 1-2 cut branches extending from it.
If you’d like to give that a try, use a sharp knife to cut off one or both ends on a diagonal. (If for some reason your “branches” fall apart, just mix the cake and filling all up together and mold a branch shape yourself.)
Lay out your log onto your serving platter, seam side down. Arrange the branch or branches how you’d like.
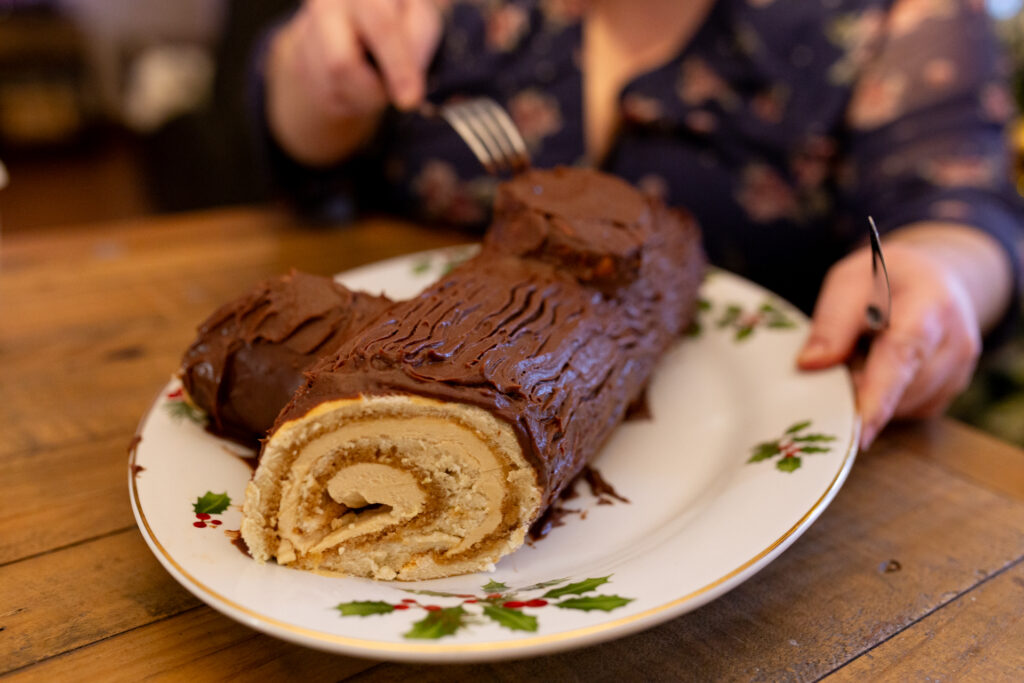
Cover the log and bough evenly with the thickened ganache, leaving at least one cut exposed to show off the rolled inside.
Using a fork, make a textured “bark” pattern in the ganache.
Dust with confectioners sugar, sprinkles, frosted decorations, meringue mushrooms, or whatever you have decided to use.
Bejgli (Hungary)
Prepare the dough
First you’ll prepare the dough. Dissolve a teaspoon or so of the granulated sugar into the warm milk. Crumble in the fresh yeast and let sit for about 5 minutes. Add the rest of the granulated sugar and stir.
Using your hands, mix the butter evenly into the flour in a large bowl.
Make a well in the center of the flour and tip in the yeasty milk, powdered vanilla sugar, eggs and pinch of salt.
Mix and knead thoroughly in the bowl.
Cover the bowl and let the dough rest while you make the two fillings.
Prepare the fillings
For the nut filling, heat the milk and sugar and bring to a boil. Immediately remove the pan from the heat and stir in the remaining ingredients except for the raisins (if using). Mix well and let cool completely.
For the poppy seed filling, follow the same procedure. Heat the milk and sugar, bring to a boil, remove from heat and mix in the rest of the ingredients except for the raisins (if using).
Mix well and allow to cool.
Assemble and bake
Heat the oven to 180 ℃ and line a baking pan with parchment paper or silicone mat.
Divide the dough in two and use a
rolling pin (with a little sprinkled flour on your work surface) to flatten each piece out into a rectangular-like shape that is around 23 cm x 30 cm x 3 mm.
Spread the filling evenly and roll up lengthwise. You want to roll a lagom amount, not too tight and not too loose. (Use any leftover filling on breakfast toast.)
Carefully transfer the rolls to your prepared pan, seam side down. Lycka till!
Now you’ll add the wash. Some people like to beat the egg yolk (apply first) and egg white (apply second
about 40 minutes later) separately, letting them dry between washes. This process leaves a crackled pattern
on the outside of the roll. But if you have made it this far, with or without alcohol, feel free to brush it on all at once and be done with it.
You’re going to want to poke some holes in the rolls in order to let steam escape. You can use a fork, piercing deeply into the pastry. You’ll want to use a fork with long tines.
Bake for 30-35 minutes and let cool under a clean tea towel.
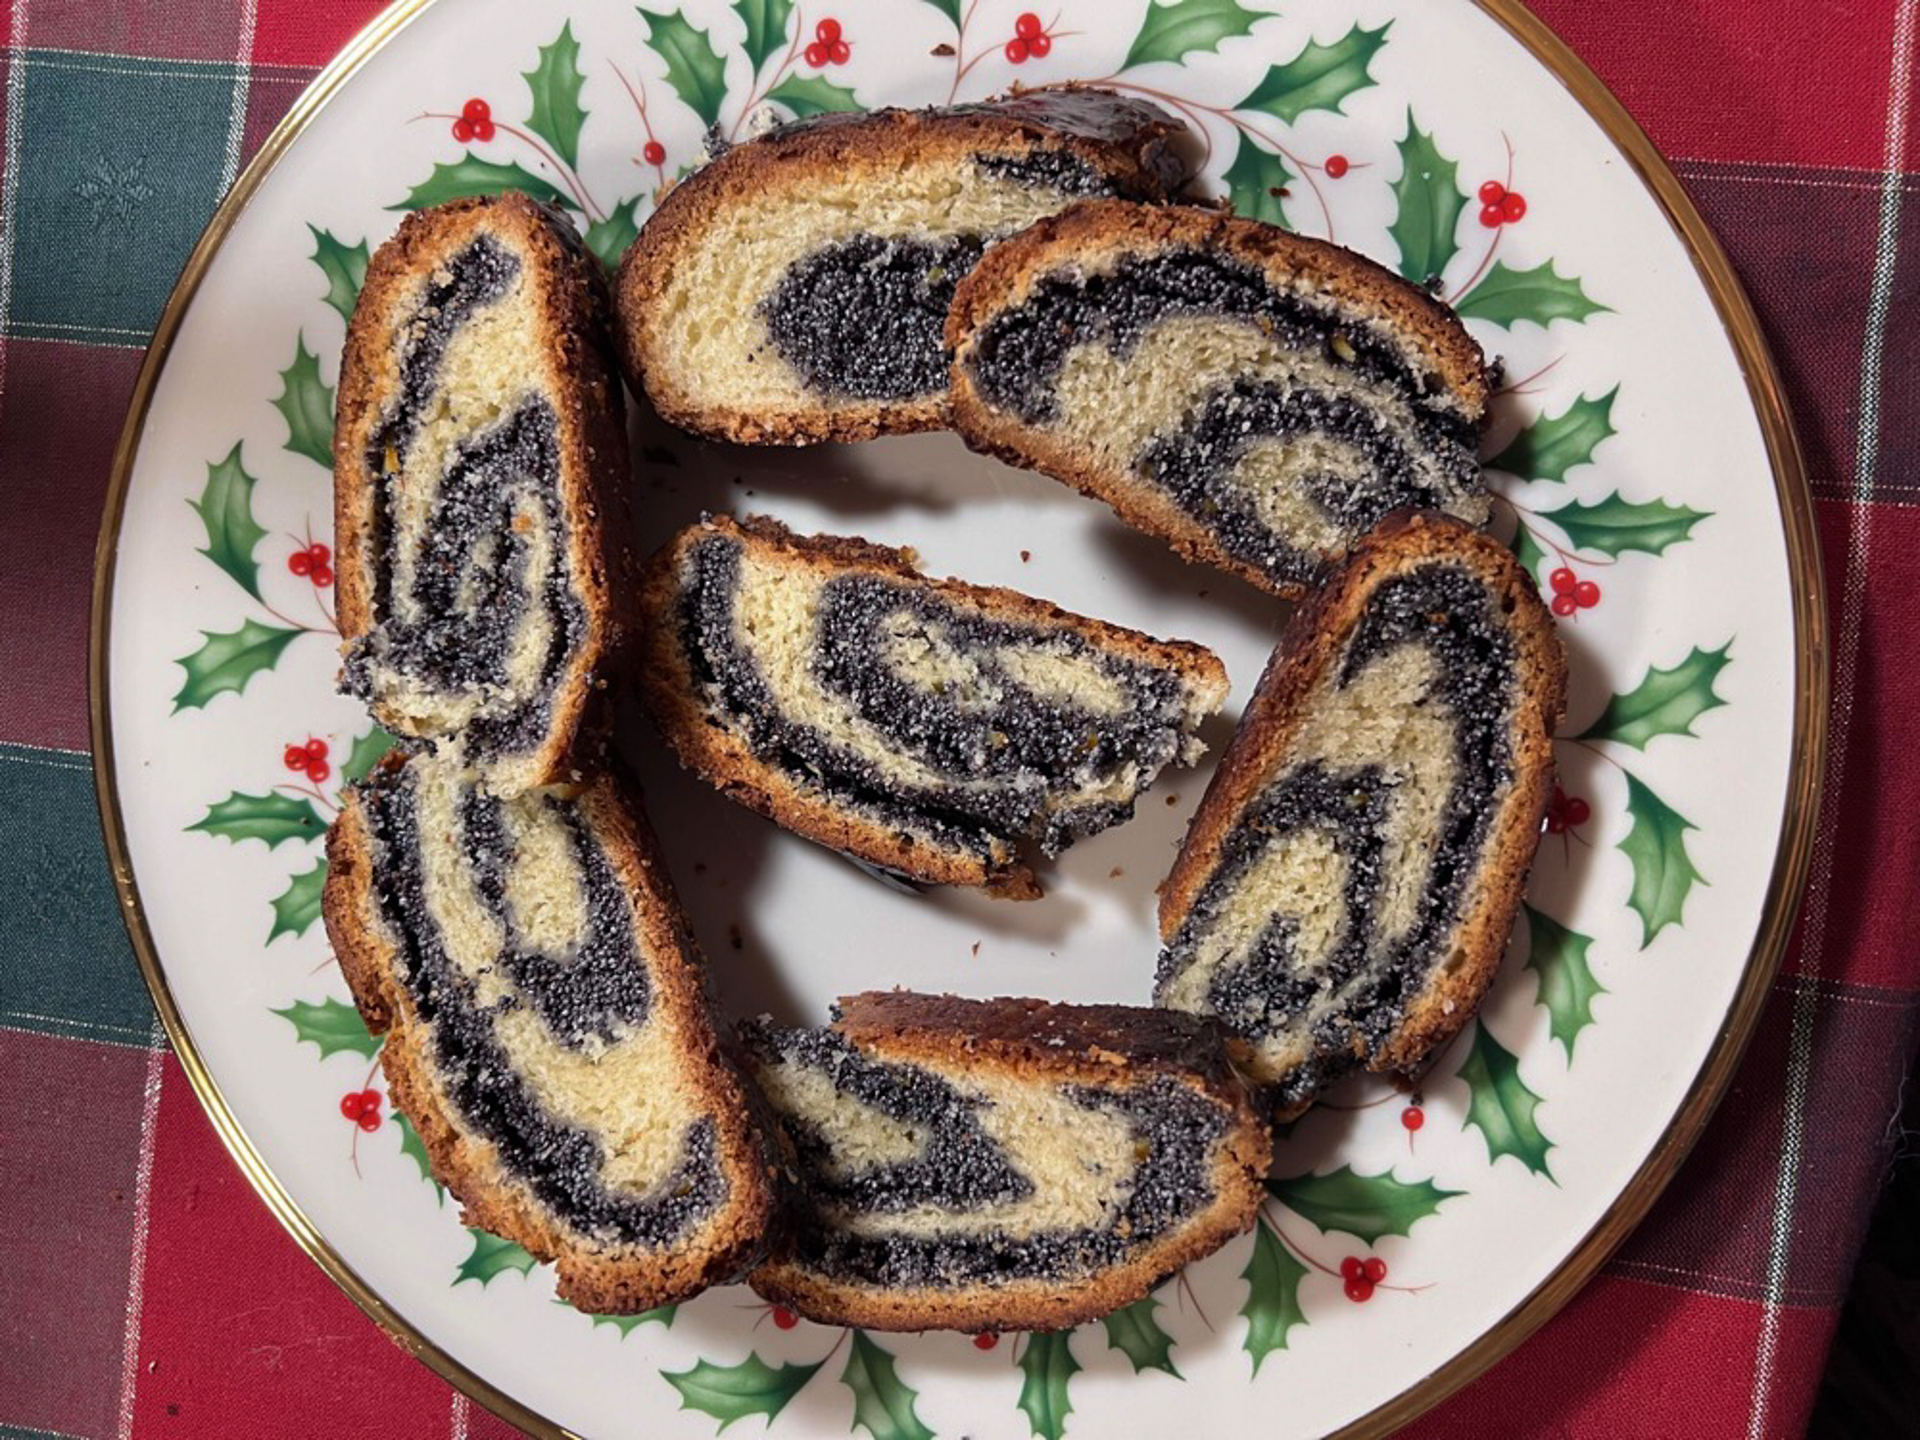
Seafoam Salad (United States of America)
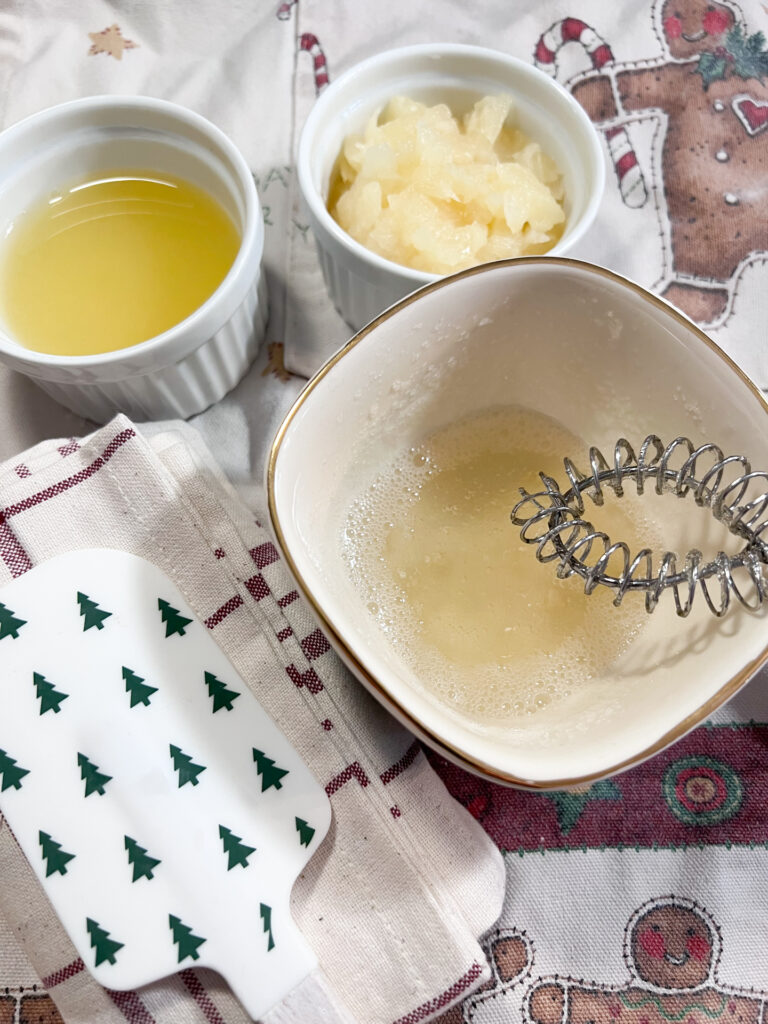
Drain pineapple and set the juice aside. Pour the water into a small bowl and sprinkle with gelatin. Whisk until dissolved.
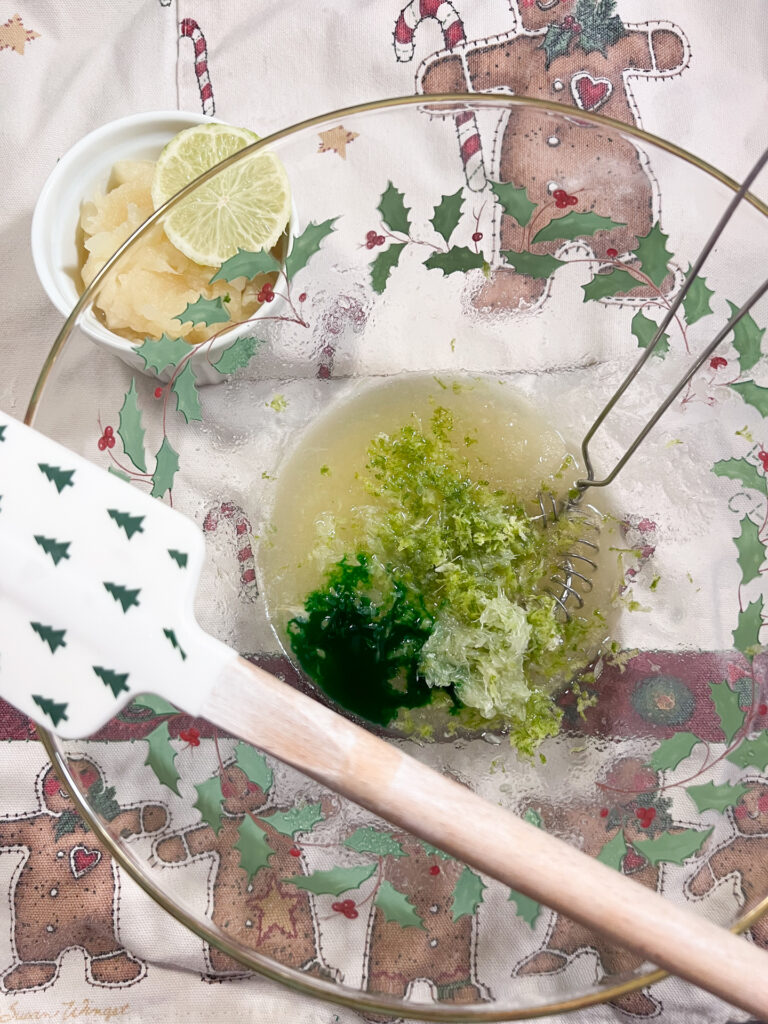
Next, whisk in 4 tablespoons of the sugar, pineapple juice, crushed pineapple (if all you can find is slices, use a food processor to purée) lime juice, lime pulp and lime zest. Add in the green food coloring if using. Just a few drops should do it.
Beat the cream cheese with an electric mixer and add 2 tablespoons of sugar.
Whip into the gelatin mixture until just combined.
In a separate bowl, whip the cream until soft peaks form, adding the last two tablespoons of sugar.
Using a rubber spatula, fold the whipped cream into the gelatin mixture. Garnish with reserved lime slices and extra zest.
Refrigerate for at least 2 hours or overnight until set.